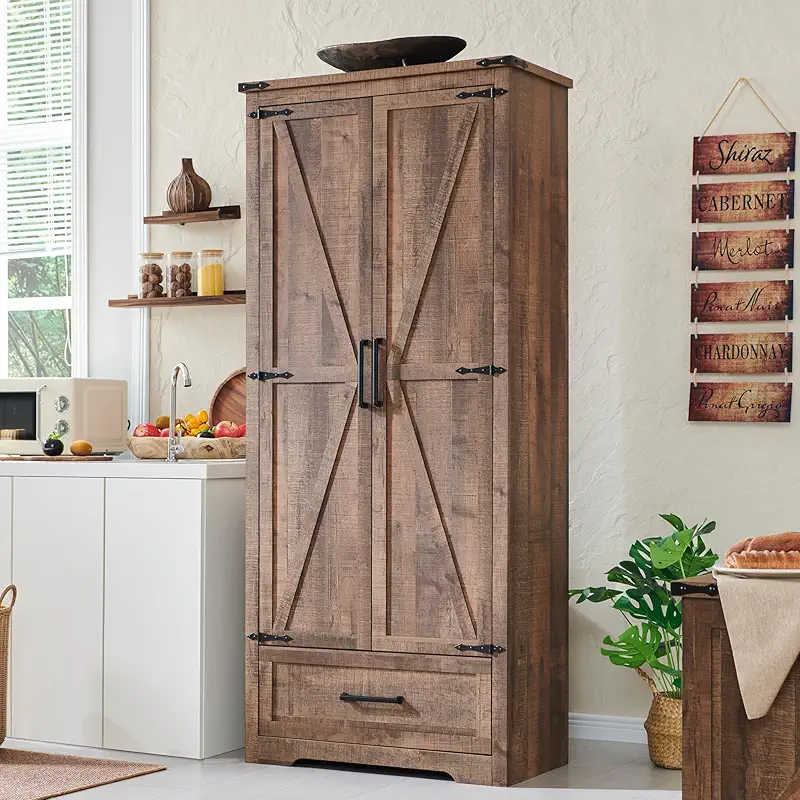
Primetabletop tall kitchen storage cabinet features a sleek rectangular silhouette with 2 classic barn doors. The rustic wood texture finish, accompanied by the touch of black metal accents, masterfully fuses modern rustic aesthetics with the warmth of vintage farmhouse charm. It effortlessly breathes personality and grace into your kitchen or living room, seamlessly complementing any furniture and decor style you embrace.
Design Your Own Table
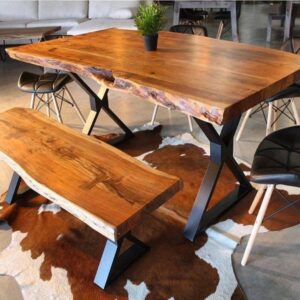
Our resin tables are handcrafted, 2 inches thick by default, making them both durable and artistic. They are easy to maintain, and no two tables are exactly alike due to the unique characteristics of each piece of wood. However, we can achieve a 90%-95% similarity to the style you see in pictures.
Each product link allows you to customize the wood type, size, resin color, and table legs. Once you’ve selected your options and applied the discount code, we’ll get started on your order. Afterward, a carpenter will choose the right wood for you, and a designer will create a drawing based on your choices for confirmation.
Please note that the resin color is fully customized according to your selection, and every design is unique to each customer.
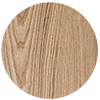
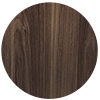
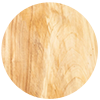
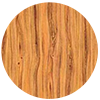
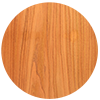
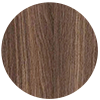
Wood Types


Epoxy Resin Options





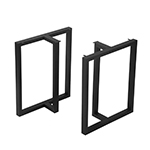
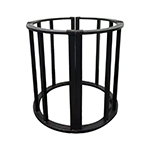
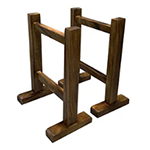
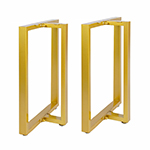
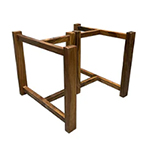
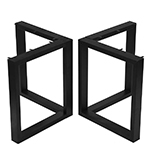
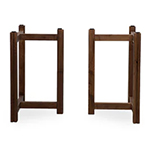
Table legs

Size Recommendations


Manufacturing Process
Resin Furniture Production Timeline (Approximately 20-25 Days)
1.Wood Selection:
Wood Type: Choose from Black Walnut, Walnut, Ash, Cedar, Poplar, Olive, and others.
Wood Shape: Select either a natural shape or one modified through design.
Natural Features: Consider knots, burl, grain patterns, natural cracks, end splits, mineral streaks, wormholes, resin pockets, and sap stains.
2.Wood and Color Confirmation:
Confirm both the selected wood and its color during the selection process to ensure optimal matching.
3.Designer Creates CAD Drawing:
A designer will prepare a CAD drawing for your approval.
4.Material Preparation:
Cleaning: Clean the wood thoroughly to remove impurities and enhance texture. The wood may look slightly different after cleaning compared to its original state.
Edge Preparation: Natural wood edges may be slightly scorched during cutting for a better finish, unless specified otherwise.
5.Painting/Resin Application:
Apply resin to lock in bacteria and dust while reducing bubbles. Using resin yields the best results.
6.Shaping and Trimming:
Trim and shape the wood to the desired dimensions.
7.Resin Preparation:
Use a vacuum machine to eliminate air bubbles from the resin, which usually takes 30-60 minutes.
8.Resin Pouring:
Pour the resin in layers, using a torch to remove large bubbles as they rise. Repeat this process for each layer.
Typically, 3-5 layers of resin are needed depending on thickness, with additional layers for wave effects. Each layer requires about 2 days to cure, with the final layer potentially needing longer.
9.Demolding:
Remove the cured piece from the mold.
10.Excess Wood Removal:
Sand away excess wood to achieve a smooth surface.
11.Sanding and Polishing:
Sand the surface and apply scratch-resistant lacquer. This process is repeated 5-6 times, sealing all gaps.
Clean with a thinner to enhance color, and use a brush to apply the first coat of lacquer for better absorption.
12.Inspection and Resin Touch-up:
Inspect the piece thoroughly. Fill any resin gaps and polish raised areas to ensure a smooth surface.
13.Final Lacquering:
Apply the final coat of lacquer in a dust-free room with a spray gun to minimize dust contamination.
14.Final Inspection and Packaging:
Conduct a thorough final inspection. After approval, carefully package the piece with:
A layer of pearl cotton
A fabric layer
A cardboard layer
Fabric strips for edge protection
A wooden frame for added protection during transit

